DNS records (A, CNAME, MX, TXT, and more) control where your domain and its services actually point — which server hosts your website, where your email is delivered, and so on. If you have a domain-only registration with us, you can manage these records yourself from the client area, free of charge.
Before you start
For the records you add here to take effect, your domain's nameservers must be set to ours:
dns1.canspace.cadns2.canspace.ca
You can check and update these under Domains → My Domains → Manage → Nameservers. See How do I change my nameservers? if you need help. If your nameservers point somewhere else (for example to a website builder like Wix or Squarespace), the records you add here won't take effect — that's controlled by your nameservers instead.
Steps
-
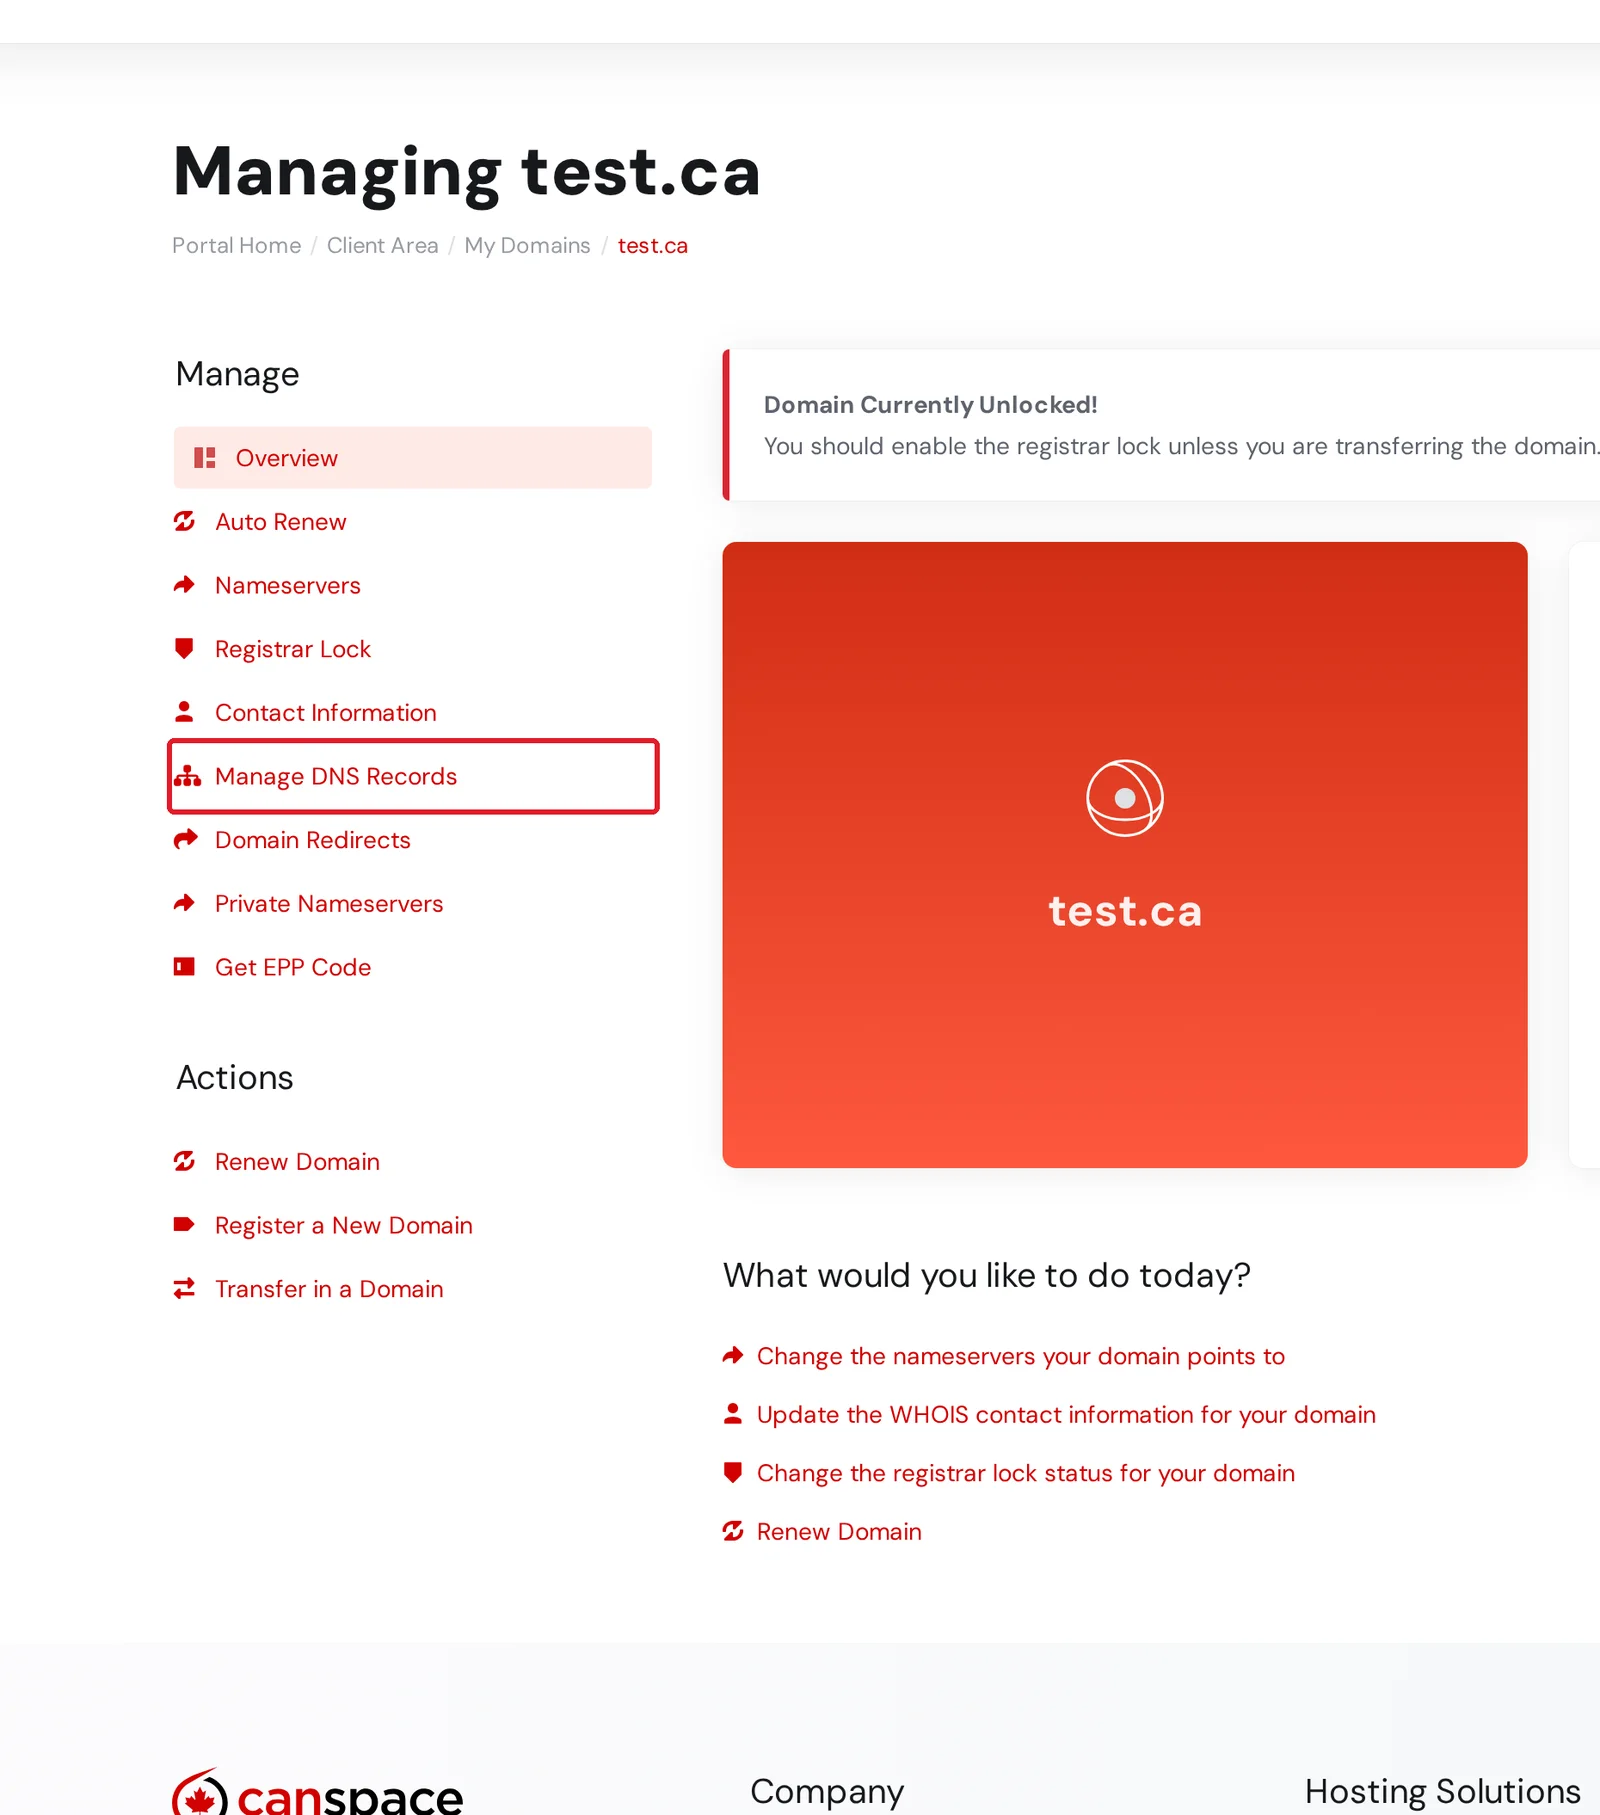
Log in to the client area and go to Domains → My Domains. Click your domain (or its Manage button) to open it, then choose Manage DNS Records from the Manage menu on the left.
-
The first time you open it, you'll see No DNS records set up yet. Click Set up DNS records — this creates your DNS zone in one step (no need to choose an IP address).
-
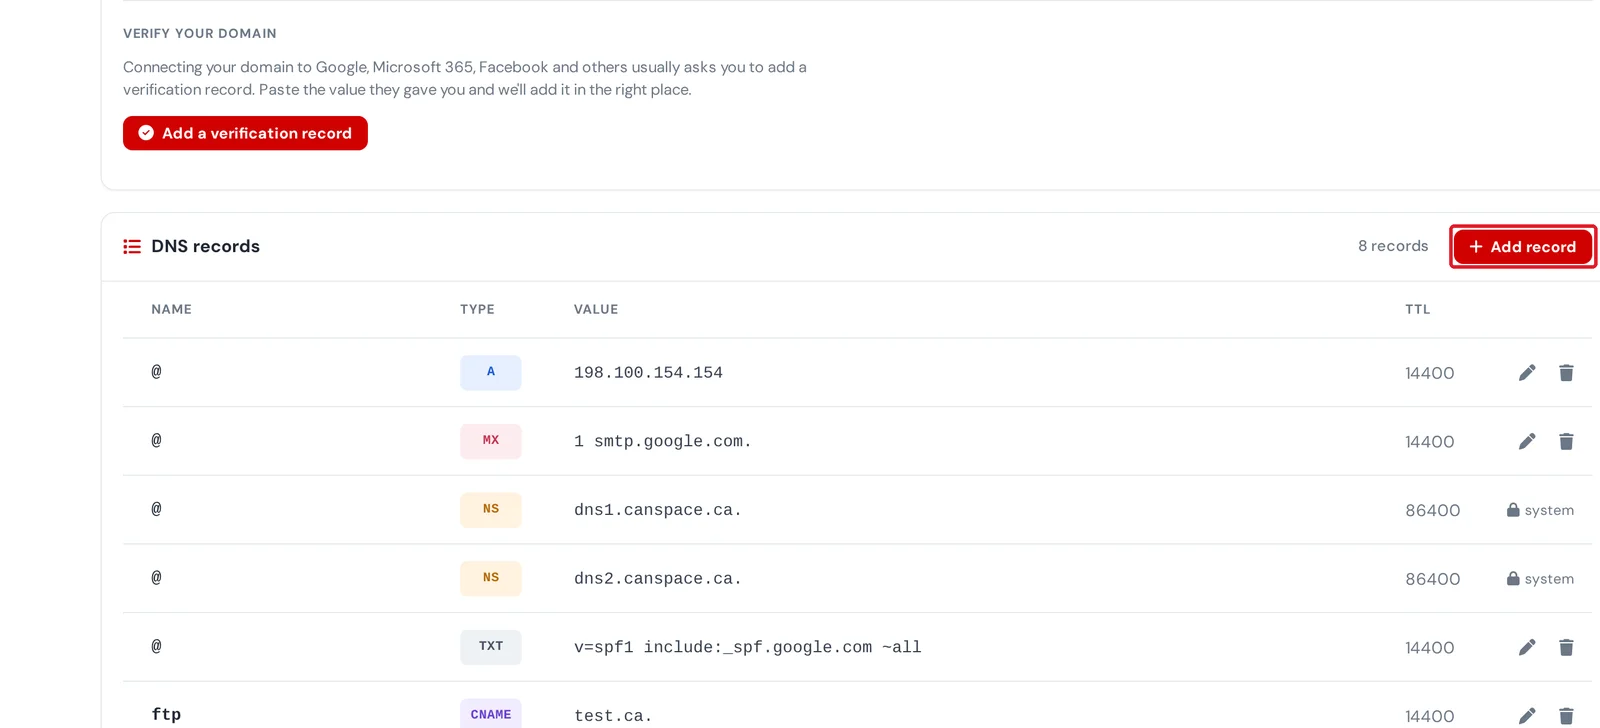
You'll now see your DNS records in a table. Click Add record to create a new one — pick the type (A, CNAME, MX, TXT, and so on), enter the name and value, and save. To change an existing record, use the pencil icon on its row; to remove one, use the trash icon.
Common record types
- A — points a domain (or subdomain) at an IPv4 address.
yourdomain.com → 198.51.100.10 - AAAA — same as A, but for IPv6 addresses.
- CNAME — points a subdomain at another domain name.
www.yourdomain.com → yourdomain.com - MX — tells other mail servers where to deliver email for your domain. Used when you host email externally (Google Workspace, Microsoft 365, etc.).
- TXT — free-form text, used for SPF, DKIM, DMARC, and domain-verification records.
- NS — delegates a subdomain to different nameservers. Rarely needed.
Enter @ as the name for a record that applies to the domain itself (for example yourdomain.com), or a label like www for a subdomain.
Removing a domain's DNS
If you no longer want to manage a domain's DNS with us — for example, you're moving it to another provider — open Manage DNS Records for that domain and click Delete this DNS zone at the bottom of the page. This removes the zone and all of its records. If you ever run into trouble creating or editing a zone, just open a support ticket and we'll sort it out.
Related articles
- How do I change my nameservers?
- How do I set domain forwarding?
- Verify your domain with a TXT record
Still stuck? Open a support ticket


