The Databases section of cPanel is where you create, manage, and inspect your MySQL databases. If you run WordPress, Joomla, or any application that needs to store data, this is where those databases live.
What you'll find in the Databases section
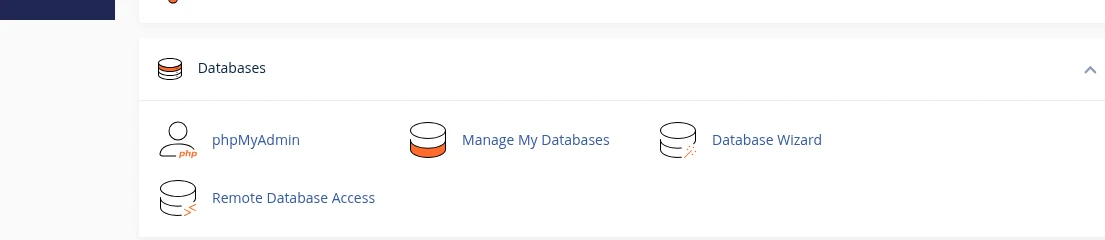
Manage My Databases
The day-to-day tool. Create a new MySQL database, create a database user, set their password, and grant that user permissions on a specific database. This is the tool most applications (WordPress, phpBB, Laravel apps, etc.) want before you can install them.
Typical workflow when installing a new application manually:
- Create New Database — enter a short name (cPanel prefixes it with your username automatically, e.g.
yourcpuser_wp1). - Add New User — create a user with a strong password. Same prefix applies (e.g.
yourcpuser_wpuser). - Add User to Database — grant the user ALL PRIVILEGES on the database you just created. You'll then plug these three values (database name, user, password) into the application's configuration.
You can also rename or delete databases and change user passwords from the same page. Renaming a database automatically updates existing permissions, so any application using it stays connected.
yourcpuser_ prefix is required on our shared servers so your databases can't conflict with other clients' databases on the same server. You can't choose a name without it.phpMyAdmin
The power tool. phpMyAdmin is a web interface to MySQL itself — browse tables, run SQL queries, import and export databases, edit individual rows. Use it for:
- Inspecting data: see what's actually stored in a table (e.g. check your WordPress users and their emails).
- Emergency WordPress fixes: reset an admin password (see How to reset your WordPress administrator login) or change the site URL (see Change and update WordPress URLs in the database).
- Backups: Export tab generates a
.sqlfile you can save locally. - Restores / migrations: Import tab lets you upload a
.sqlfile to repopulate a database. - Running ad-hoc SQL: the SQL tab is where you paste queries for bulk data changes.
phpMyAdmin opens for a database once you've selected it from the sidebar (or from the Manage My Databases page). It doesn't ask for credentials — cPanel logs you in automatically using a temporary session user.
Database Wizard
A guided, step-by-step version of Manage My Databases: prompts you for a database name, then a user, then assigns permissions, all in a single flow. Nice for first-time users who haven't done this before, but offers less than the full Manage My Databases page.
Remote Database Access (also known as Remote MySQL)
By default, MySQL on our shared servers only accepts connections from the server itself — which is what 99% of applications need (WordPress, Joomla, etc. run on the same server as the database). But if you have an external application (a desktop tool, a staging environment, a VPS running a separate frontend) that needs to connect to your database, you enable that here.
Enter the remote IP address (or a range) you want to allow. The IP will be granted access to all databases on your account.
Common tasks
Import a database (e.g. during a site migration)
- Create a fresh database and user via Manage My Databases.
- Open phpMyAdmin and select the new database on the left.
- Click the Import tab, choose your
.sqlfile, click Go.
Very large databases (more than a few hundred MB) may time out via the web interface. For those, restore via SSH using mysql -u user -p dbname < dump.sql if you have SSH access, or open a support ticket and we'll import it for you.
Export a database (backup)
- Open phpMyAdmin.
- Select your database on the left.
- Click the Export tab.
- Keep the defaults (Quick, SQL format) and click Go.
You'll get a .sql file download. Save it somewhere safe — this is a complete backup of your database.
Run a single query
- Open phpMyAdmin and select your database.
- Click the SQL tab.
- Paste your query, click Go.
Back up the database first if your query modifies data — most mistakes aren't reversible.
Storage: what counts against my plan
Your database storage counts toward your total disk quota. Large WordPress sites (thousands of posts, heavy plugins) can accumulate hundreds of MB of database size over time. Check your database sizes under Manage My Databases; each database's size is shown next to its name.
Backups
We run nightly server-side backups of your entire account, including databases. You never need to manually back up your database for disaster-recovery purposes — we've got it covered. The tools above are useful for your own spot-backups before making risky changes, or for migrations.
Related articles
- What is my MySQL server hostname?
- How to reset your WordPress administrator login
- Change and update WordPress URLs in the database
- What is cPanel?
Still stuck? Open a support ticket


